Raspberry Pi 5 AI Agent: Step-by-Step OpenClaw Setup Guide (2026)
 1")
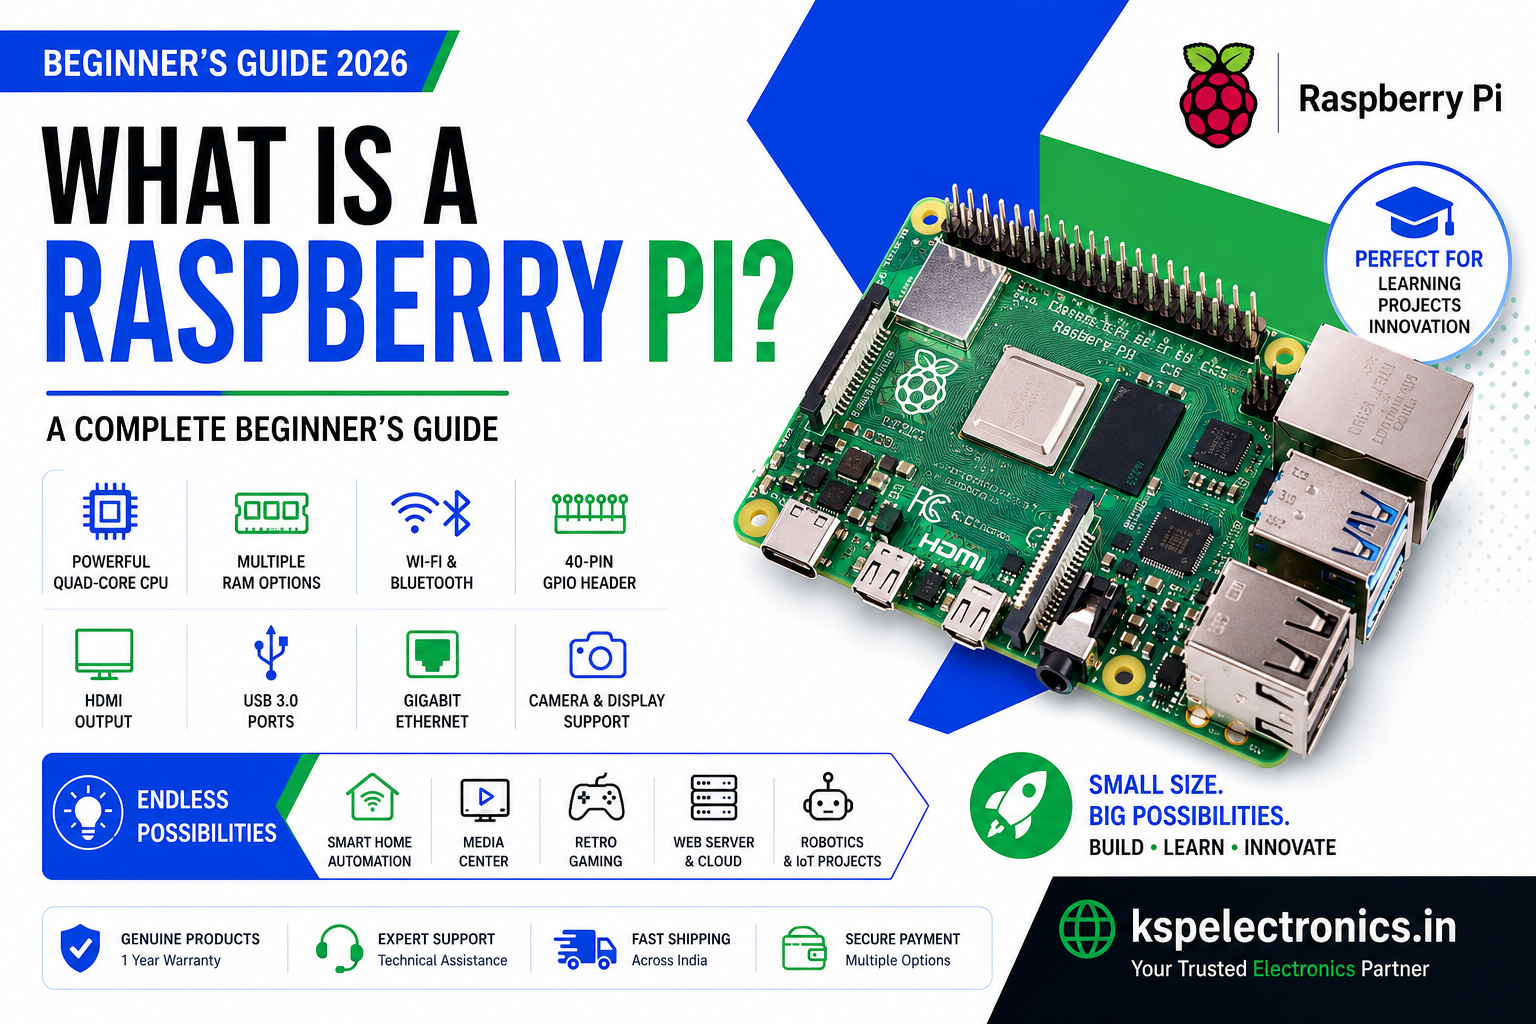
Setting up a Raspberry Pi 5 AI agent is now within reach of any maker or student. This step-by-step guide covers the complete Raspberry Pi 5 AI agent setup using OpenClaw, from installation to real-world automation. A Raspberry Pi AI Agent allows your device to execute commands, automate workflows, deploy applications, and manage IoT systems using artificial intelligence. With OpenClaw, you can transform your Raspberry Pi into a powerful automation server capable of working 24/7 with low power consumption.
Table of Contents
This step-by-step guide explains how to build a Raspberry Pi AI Agent securely and efficiently.
This Raspberry Pi 5 AI agent guide is for students, makers and engineers who want to run AI locally on Raspberry Pi hardware. Whether you are building an IoT automation server or a final year engineering project, the Raspberry Pi 5 AI agent with OpenClaw gives you full AI control without cloud dependency.
What is OpenClaw? Raspberry Pi 5 AI Agent Robot Overview
OpenClaw is an open-source AI agent that performs actions on your system rather than simply generating text responses.
While AI platforms from:
- OpenAI
- Anthropic
are known for conversational AI, OpenClaw extends these capabilities by allowing your Raspberry Pi to:
- Execute terminal commands
- Modify system files
- Configure networks
- Deploy applications
- Automate server tasks
This makes it ideal for building a Raspberry Pi automation server.
Why Use Raspberry Pi for an AI Agent?
Using:
- Raspberry Pi 5
- Raspberry Pi 4
provides several advantages:
- Low power consumption
- 24/7 operation capability
- Secure isolation from your personal laptop
- Affordable edge AI deployment
- Ideal hardware for IoT automation
For startups and developers, Raspberry Pi becomes a cost-effective edge AI device.
Hardware Requirements
To build a Raspberry Pi AI agent, you need:
Recommended Setup
- Raspberry Pi 5 (8GB recommended)
- 32GB or 64GB high-endurance SD card
- Official power adapter
- Stable internet connection
- Optional NVMe SSD for better performance
Entry-Level Setup
- Raspberry Pi 4 (4GB or 8GB)
- Raspberry Pi Zero 2 W (for lightweight agent use)
Step 1: Install Raspberry Pi OS
Download:
Flash using:
- Raspberry Pi Imager
After boot, update your system:
sudo apt update && sudo apt upgrade -yReboot:
sudo rebootKeeping the system updated improves security and stability.
Step 2: Install OpenClaw on Raspberry Pi
To install OpenClaw Raspberry Pi setup, run:
curl -fsSL https://openclaw.ai/install.sh | bashThe installer will:
- Configure required dependencies
- Setup background services
- Guide you through AI provider configuration
After installation, your Raspberry Pi automation server will be ready for AI-driven tasks.
| Feature | Cloud AI | Local AI on Raspberry Pi 5 |
|---|---|---|
| Internet | Required | Not required |
| Privacy | Data to cloud | 100% local |
| Cost | API fees | Free after hardware |
| Speed | 100–500ms | 1–5 seconds |
| Models | GPT-4, Gemini | Llama 3.1, Mistral 7B |
| Best for | Accuracy tasks | Privacy-first offline IoT |
Cloud AI vs Offline AI Setup
You can run your Raspberry Pi AI agent in two ways.
Option 1: Cloud-Based AI
Connect OpenClaw to an API provider such as:
- OpenAI
Advantages:
- Advanced reasoning
- High-quality code generation
- Better performance for complex tasks
Disadvantage:
API usage costs
Option 2: Offline AI on Raspberry Pi
For fully offline AI Raspberry Pi setup, use:
- Ollama
- llama.cpp
Install Ollama:
curl -fsSL https://ollama.com/install.sh | shRun a model locally:
ollama run mistralBenefits of offline setup:
- No recurring API cost
- Complete data privacy
- Faster response times
- Suitable for internal business systems
Practical Applications of Raspberry Pi AI Agent
1. Automated Website Deployment
You can instruct OpenClaw to:
- Install Nginx
- Create HTML files
- Configure hosting
- Launch a product page
This simplifies server management for startups.
2. AI-Based Photo Booth
Using:
- Raspberry Pi Camera Module 2
OpenClaw can:
- Create capture scripts
- Build a download interface
- Configure hotspot mode
- Manage storage
This is ideal for events and rental businesses.
3. IoT Automation Server
A Raspberry Pi AI agent can:
- Deploy MQTT brokers
- Monitor devices
- Manage firmware updates
- Generate system logs
- Control automation workflows
This makes Raspberry Pi suitable for edge AI deployment in industrial and smart home environments.
Security Best Practices
Since OpenClaw executes system-level commands:
- Use a dedicated Raspberry Pi
- Change default credentials
- Enable firewall
- Restrict SSH access
- Use secure remote access like:
Security must be prioritized in any automation deployment.
Conclusion
Building a Raspberry Pi AI agent with OpenClaw is one of the most powerful ways to implement edge AI in 2026. It allows you to create a secure, low-cost automation server capable of managing websites, IoT systems, and business workflows.
For developers, students, and startups, this setup provides a scalable foundation for AI-powered infrastructure.
KSPElectronics supplies genuine Raspberry Pi boards, storage solutions, and accessories required for AI and IoT deployments across India.
Frequently Asked Questions
What is a Raspberry Pi AI Agent?
A Raspberry Pi AI Agent is a Raspberry Pi device configured with AI software like OpenClaw that can execute commands, automate workflows, and manage systems autonomously.
Can Raspberry Pi run AI locally?
Yes, using tools like Ollama and llama.cpp, Raspberry Pi can run local AI models without cloud dependency.
Is OpenClaw safe to use?
OpenClaw is safe when installed on a dedicated Raspberry Pi with firewall and SSH security enabled.
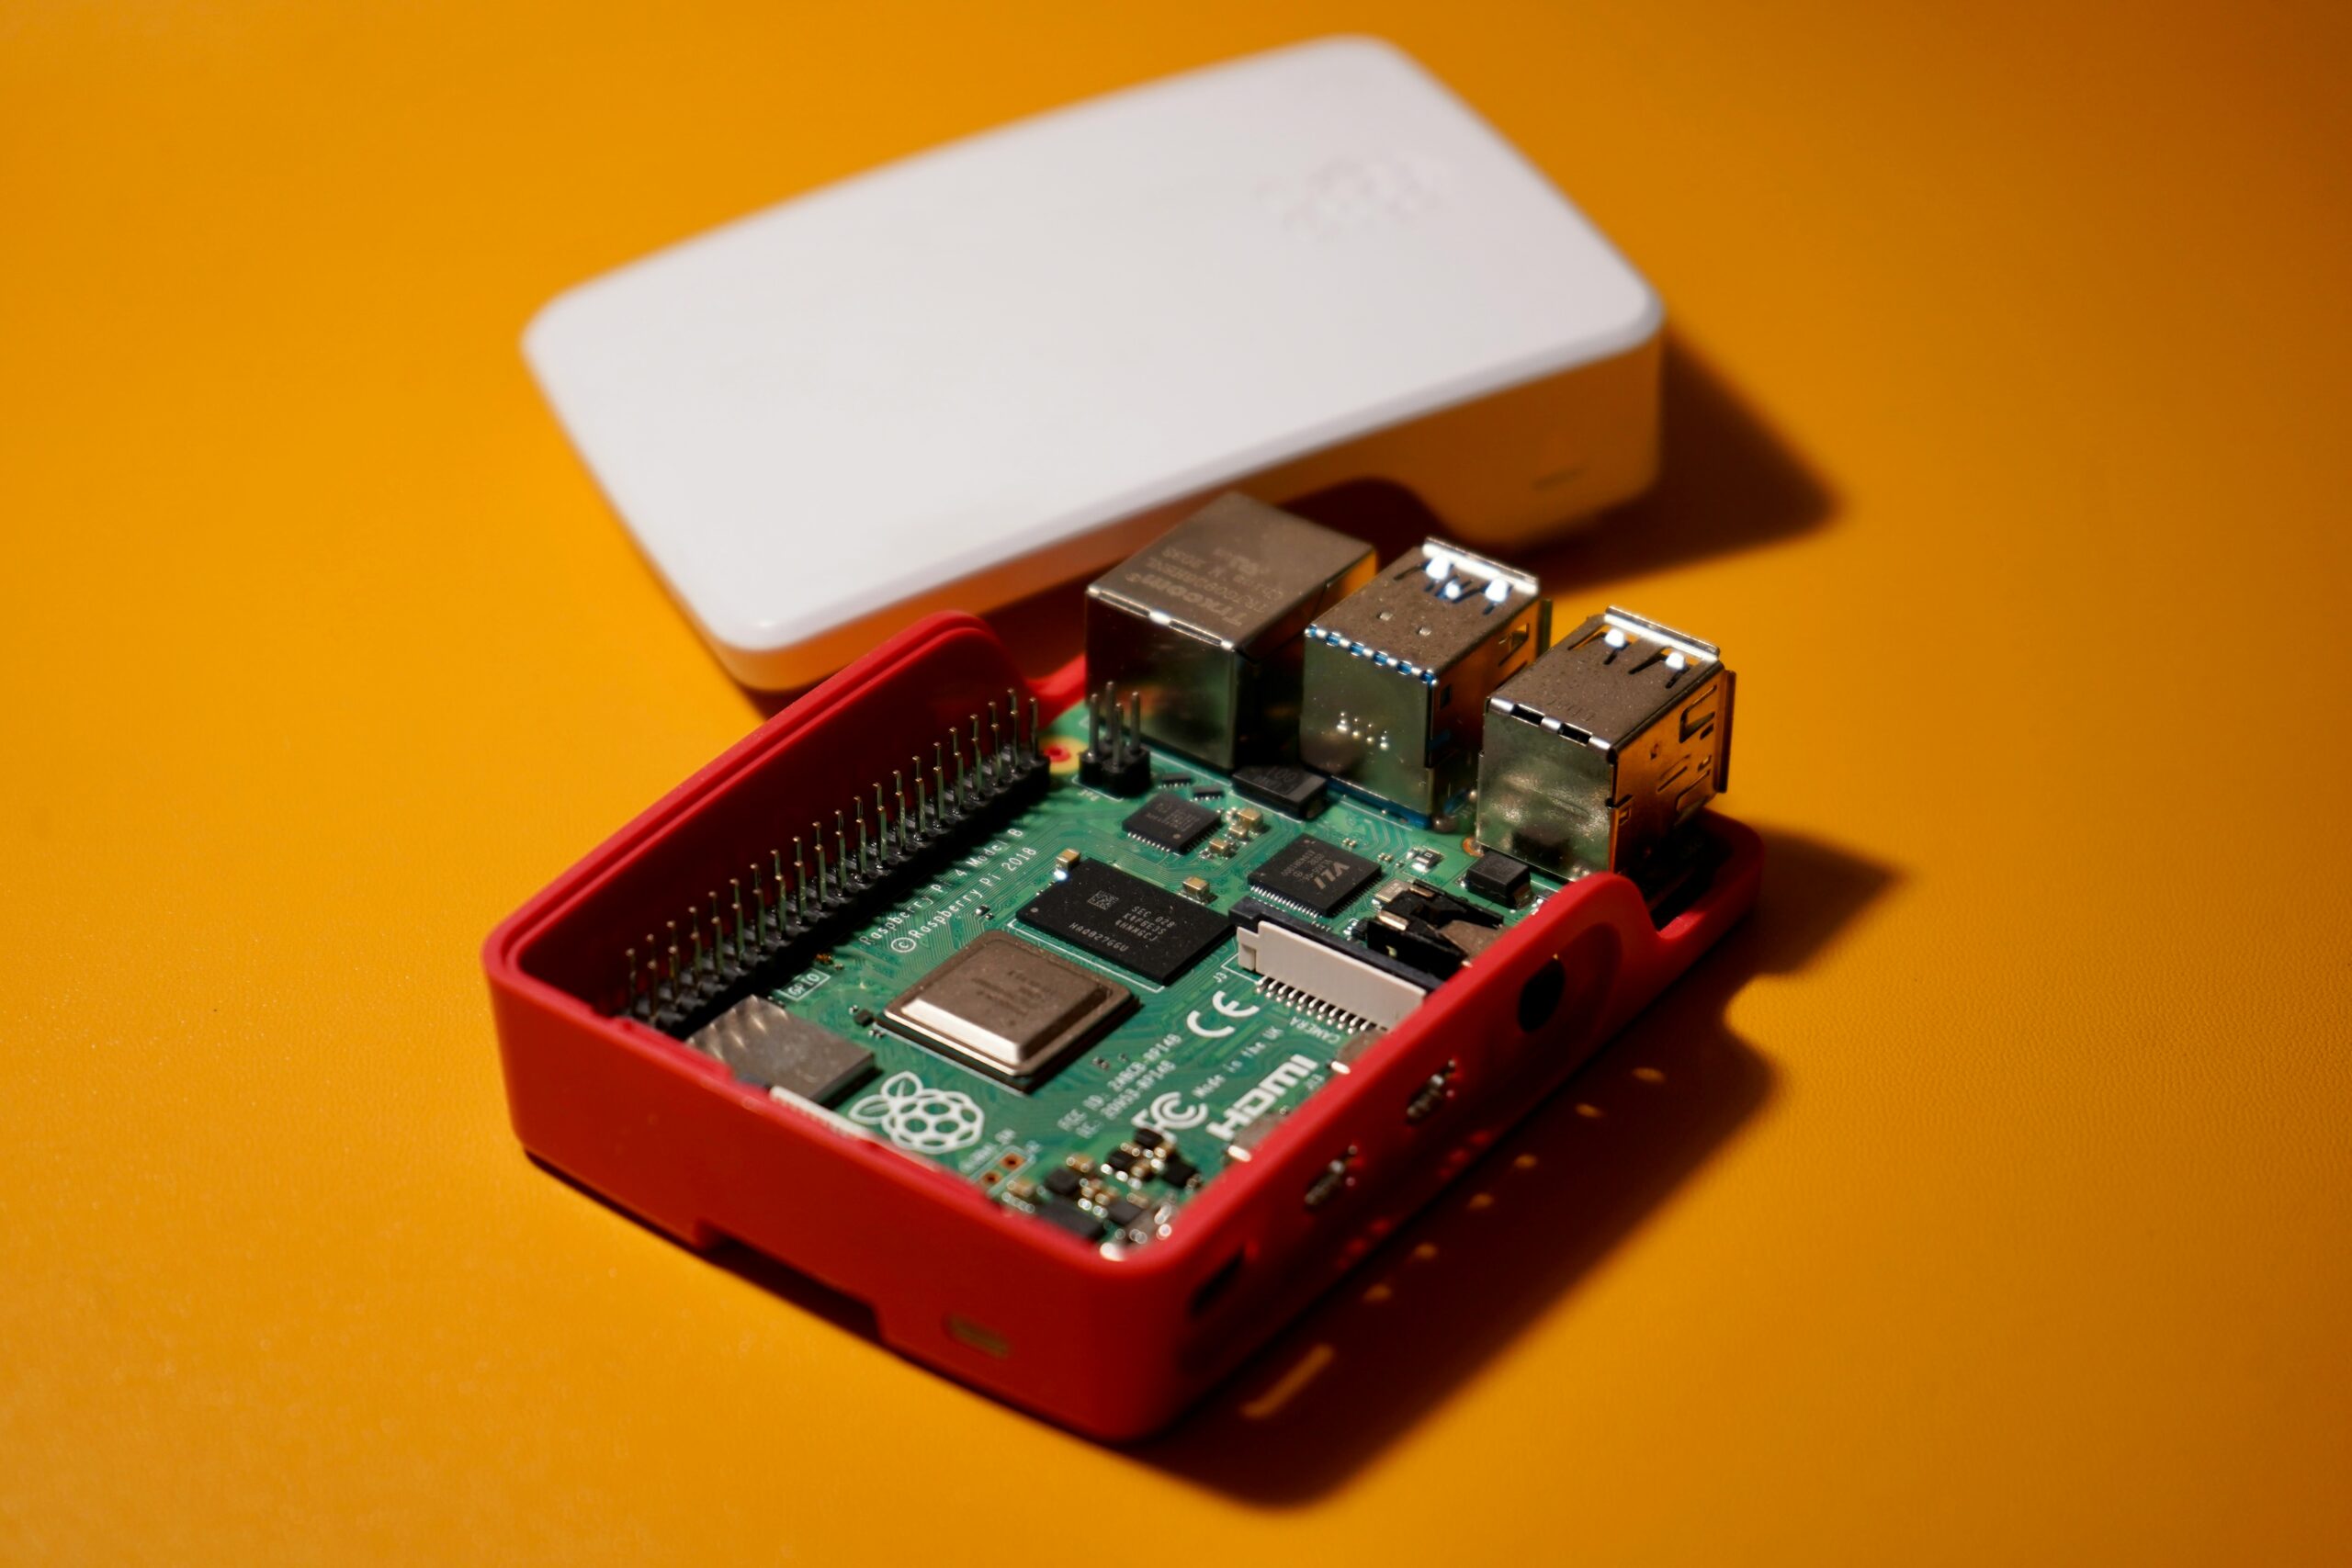
Raspberry Pi 5 Models at KSP Electronics
- Raspberry Pi 5 — 2GB RAM (₹7,287) — Sufficient for basic Python AI scripts, Node-RED automation, and lightweight TFLite models.
- Raspberry Pi 5 — 8GB RAM (₹19,618) — Recommended for YOLOv8, real-time speech recognition, and larger language model inference.
- Official Raspberry Pi 5 27W USB-C Power Supply (₹1,350) — Always use the official power supply. Under-powered RPi 5 units throttle under AI workloads and produce unreliable results.
Setting Up OpenClaw on Raspberry Pi 5: Step-by-Step
- Flash the latest Raspberry Pi OS (64-bit, Bookworm) to a microSD card using Raspberry Pi Imager.
- Boot the Pi and run
sudo apt update && sudo apt upgrade -yto update all packages. - Install Python dependencies:
pip3 install fastapi uvicorn httpx pydantic openai anthropic - Clone the OpenClaw repository:
git clone https://github.com/openclaw/openclaw.git && cd openclaw - Set your API keys in the
.envfile (OpenAI or Anthropic Claude API key depending on your agent backbone). - Start the agent server:
uvicorn main:app --host 0.0.0.0 --port 8000 - Access the agent web UI at
http://[raspberry-pi-ip]:8000from any device on your network.
Related Guides from KSP Electronics
- How to Fix CP2102 & CH340 USB Driver Errors on ESP32
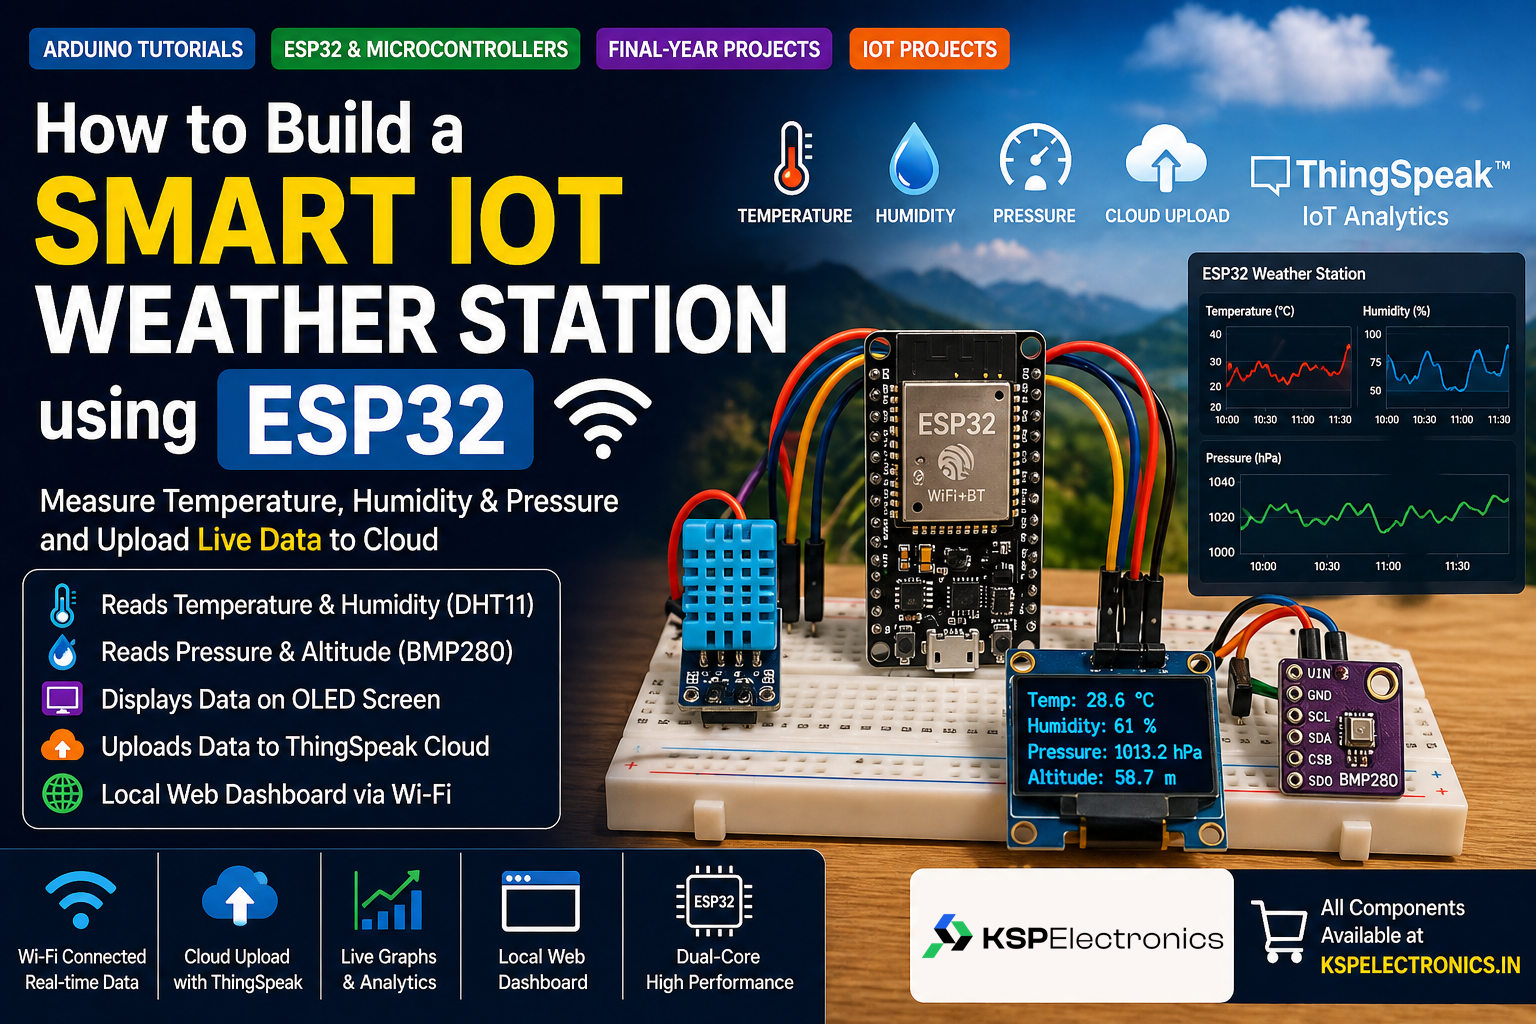
- How to Build a Smart IoT Weather Station using ESP32
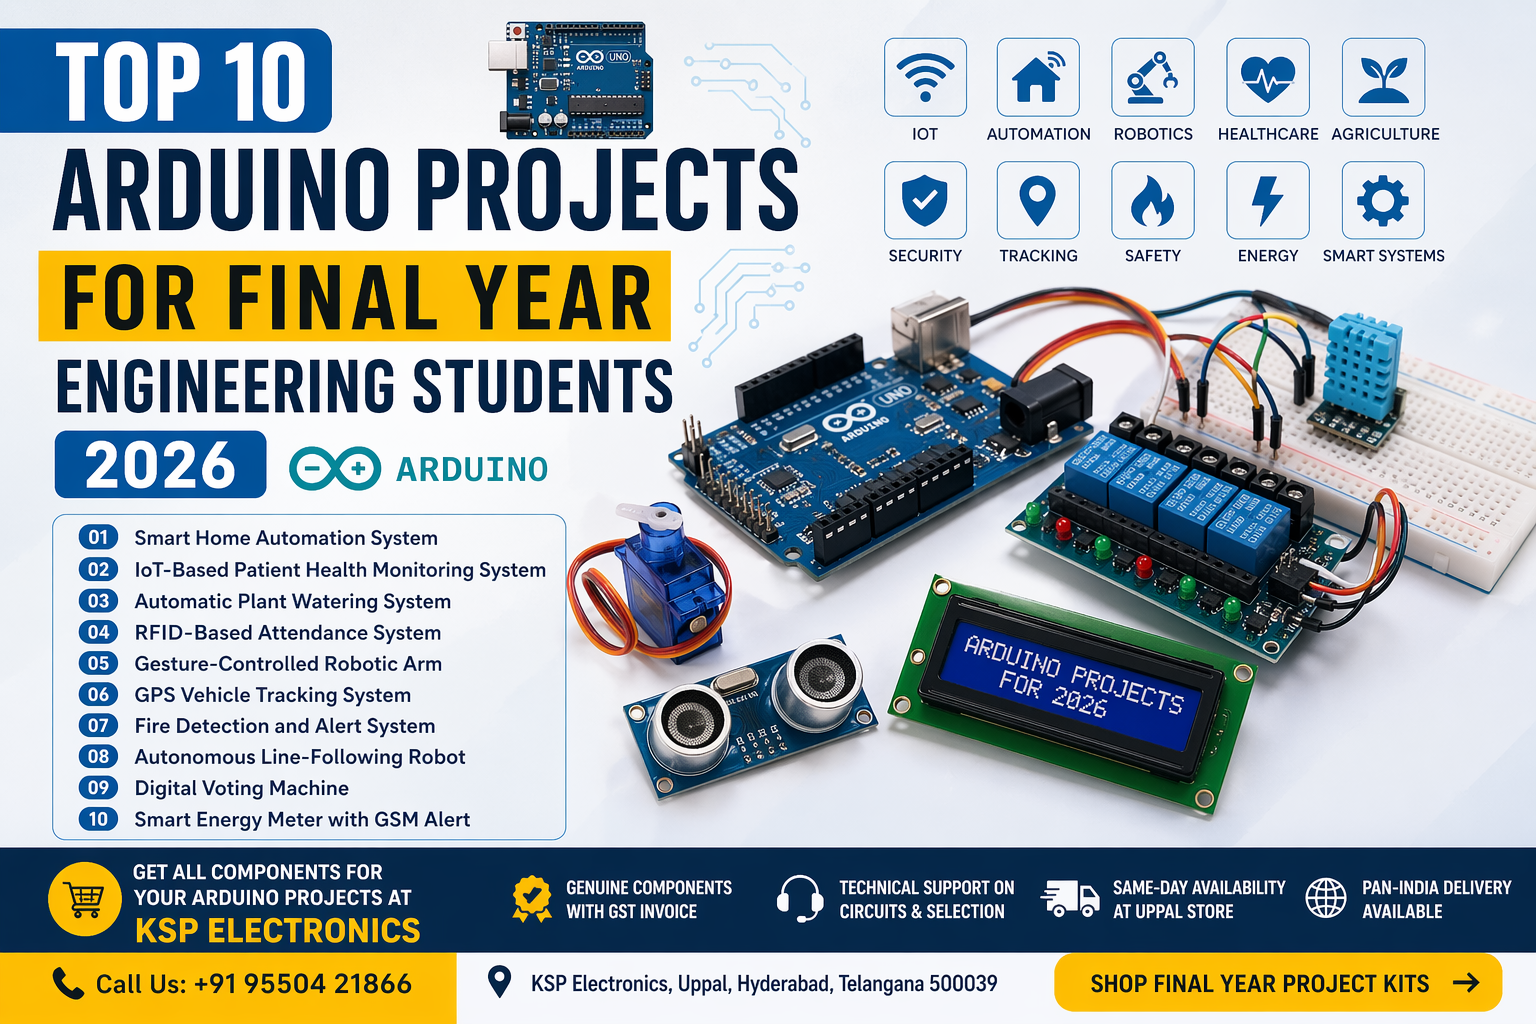
- Top 10 Arduino Projects for Final Year Engineering Students
- Top 10 IoT Projects for Final Year Students
- Where to Buy Arduino in Hyderabad
Complete Raspberry Pi 5 AI Agent Installation Guide
The following steps walk through the complete setup of your Raspberry Pi 5 AI agent — from flashing the OS to running local AI models and connecting an ESP32 for IoT automation.
Hardware Requirements
| Component | Recommended | Minimum | India Price 2026 |
|---|---|---|---|
| Raspberry Pi 5 | 8GB RAM | 4GB RAM | Rs 7,500 to Rs 9,500 |
| MicroSD Card | 64GB A2 Class 10 | 32GB Class 10 | Rs 600 to Rs 900 |
| Power Supply | 27W USB-C official | 15W USB-C | Rs 800 to Rs 1,200 |
| Active Cooler | Official Pi 5 cooler | Heatsink | Rs 600 to Rs 1,000 |
| Network | Cat 6 Ethernet | Wi-Fi built-in | Rs 150 to Rs 300 |
Step 1: Flash Raspberry Pi OS
Use Raspberry Pi Imager to flash 64-bit Raspberry Pi OS Bookworm. Enable SSH in the Imager gear settings before writing to the MicroSD card.
- Download Raspberry Pi Imager from raspberrypi.com/software
- Select Device: Raspberry Pi 5 — OS: Raspberry Pi OS 64-bit Bookworm
- Click gear icon, enable SSH, set username and password
- Select your MicroSD card and click Write
Step 2: First Boot, SSH and System Update
# SSH into your Pi (run from your laptop)
ssh [email protected]

# Full system update — always do this first
sudo apt update && sudo apt upgrade -y

# Install essential tools
sudo apt install -y curl wget git python3 python3-pip build-essential

# Reboot to apply all updates
sudo reboot
Step 3: Install Ollama Local LLM Runtime
Ollama lets your Raspberry Pi 5 AI agent run large language models entirely offline — no cloud API required after the initial model download.
# Install Ollama
curl -fsSL https://ollama.com/install.sh | sh

# Enable as system service
sudo systemctl enable ollama && sudo systemctl start ollama

# Pull a model (choose by Pi 5 RAM size)
ollama pull phi3:mini        # 1.8B — best for Pi 5 4GB
ollama pull llama3.1:8b     # 8B  — best quality, needs Pi 5 8GB
ollama pull mistral:7b      # 7B  — balanced option

# Test inference
ollama run phi3:mini "List 5 things a Raspberry Pi 5 AI agent can automate"
Expected speed: Phi-3 Mini produces a response in 3 to 8 seconds on a Pi 5. Llama 3.1 8B takes 8 to 20 seconds — fast enough for automation workflows on a Raspberry Pi 5 AI agent.
Step 4: Install and Configure OpenClaw
OpenClaw wraps Ollama and turns your Pi into a full agent — capable of planning tasks, running shell commands, managing files and controlling IoT devices over MQTT.
# Install OpenClaw
curl -fsSL https://openclaw.ai/install.sh | bash
openclaw --version

# Configure OpenClaw to use local Ollama
openclaw config set backend ollama
openclaw config set model phi3:mini
openclaw config set temperature 0.7

# Test agent tasks on your Pi
openclaw run "Show me the 5 largest files in my home directory"
openclaw run "What is the CPU temperature of this Raspberry Pi?"

# Run as persistent background service
sudo systemctl enable openclaw-agent
sudo systemctl start openclaw-agent
Step 5: Connect ESP32 to Raspberry Pi 5 AI Agent via MQTT
Use Mosquitto MQTT broker on the Pi to receive real-time sensor data from ESP32. The Raspberry Pi 5 AI agent reads MQTT messages and triggers intelligent automation based on the data.
# Install Mosquitto MQTT broker on Pi
sudo apt install -y mosquitto mosquitto-clients
sudo systemctl enable mosquitto && sudo systemctl start mosquitto
sudo ufw allow 1883

# Subscribe to all sensor topics on Pi
mosquitto_sub -t "sensors/#" -v

# Publish a test message from a second terminal
mosquitto_pub -t "sensors/temperature" -m "32.5"
ESP32 Arduino Sketch — Publish DHT11 Data to Pi Agent
#include <WiFi.h>
#include <PubSubClient.h>
#include <DHT.h>
const char* ssid        = "YOUR_WIFI_SSID";
const char* password    = "YOUR_WIFI_PASSWORD";
const char* mqtt_server = "192.168.1.100"; // Raspberry Pi static IP
WiFiClient   espClient;
PubSubClient client(espClient);
DHT dht(4, DHT11); // DHT11 on GPIO 4
void setup() {
  dht.begin();
  WiFi.begin(ssid, password);
  while (WiFi.status() != WL_CONNECTED) delay(500);
  client.setServer(mqtt_server, 1883);
}
void loop() {
  if (!client.connected()) client.connect("ESP32_Node");
  client.publish("sensors/temperature", String(dht.readTemperature()).c_str());
  client.publish("sensors/humidity",    String(dht.readHumidity()).c_str());
  delay(5000);
}
Troubleshooting Common Issues
| Problem | Cause | Solution |
|---|---|---|
| Ollama very slow or freezes | Model too large for RAM | Use phi3:mini on 4GB Pi. Add 2GB swap space. |
| SSH connection refused | SSH not enabled at flash | Add empty file named ssh to /boot partition, reboot |
| OpenClaw install fails | curl or bash missing | sudo apt install curl bash -y, then retry |
| MQTT not reachable from ESP32 | Firewall blocking 1883 | sudo ufw allow 1883 on the Pi |
| Pi overheats during inference | No active cooling | Install official Pi 5 Active Cooler from KSP Electronics |
| Out of memory error | Model exceeds RAM | Edit /etc/dphys-swapfile, set CONF_SWAPSIZE=2048, reboot |